 Hey Amanda,
It's summer. A season of change and adventure. And I find myself once again in that perennial problem of high-stakes gambling---wanting to change my hair.
I don't trust hair dressers easily. In fact, I haven't lived in my hometown in six years, yet I've somehow managed to have my hair cut by the same woman who cut it when I was 15.
When I decided to go ombre. I only had two choices. Fly home, or do it myself.
I know that's illogical. I know you actually have to go to school and pass tests to be a hairdresser. But they don't have a deep and emotional attachment to my hair like I do. Oh my heck....I sound like a homeschooler.
I know it's just hair. But it's my hair.
Alas, I trust box-dyes even less than hairdressers. So after watching one billion youtube tutorials and reading a bunch of blogs by people with pink hair. I ended up piecing together my own ombre technique.
For all the control-freak hair people like me, here's how to get a well-blended ombre by your own hand. And it costs less than 8 bucks.
You'll need a packet of lightener for $3.44 and a bottle of 20 volume developer for $4.25 (ish). They'll have both at Sally's Beauty. If you're the kind of person who has twice as much hair as all of your friends, you're going to need two packets, so it's $12 for you. The price for having gorgeous, thick hair.
The Lightener comes in blue or violet. I picked violet because every time my awesome hairdresser gave me highlights, the stuff in the bowl was purple. I know super scientific. I have no idea what the difference is. But I got the impression from the internet that it doesn't matter which you choose.
The developer can be creme or liquid or whatever kind you want, but don't you dare pick up something stronger than 20 volume. Seriously. We're doing our own hair here, let's not invite tragedy into our bathroom.
You'll also need some of those cheap latex-y gloves if you don't keep those around. (But you really should, I mean those things have a million and one uses. You never know when you'll need a turkey-shaped water balloon.)
 |
| Full supply list: bleach packet, developer, foil, comb, plastic bowl, timer, gloves, shampoo and conditioner |
Part One: With dry, day-old hair and wearing a sacrificial t-shirt, mix up your lightener in a *NON-metal* bowl according to the directions on your packet.
Decide how much length you want lightened in total, then divide that number by 2. So I wanted the bottom foot-ish of my hair lighter, so for this step I focused on the bottom 5-6 inches.
Picking up small sections, apply the bleach with your fingers squeezing the bleach down whatever length you just decided on between your thumb and index finger.
 |
| like this, but wearing gloves |
When in doubt, apply more bleach. You want the strands well coated. Before you move on to the next section, pinch the section at the top of the bleached length, and rub your fingers up and down to blur the border.
Repeat all over the bottom of your hair, alternating sections from the left and right of your head. I move the hair over my shoulders as I finish each section to keep it separate from the yet-to-be bleached hair down my back.
When you finish, wrap the bottom of your hair in foil or saran wrap and set your timer for 12 minutes. I'm assuming it took you 15ish minutes to put the bleach in. If you finish significantly faster than that, add a few more minutes to your timer.
Part Two: Remove the foil and rinse the bleach out well, preferably under the faucet to keep the rest of your hair as dry as possible.
You should still have half of your bleach left in the bowl. If not, you'll need to mix up that second packet I warned you about. While you're waiting for your hair to dry a bit, mix in some shampoo directly into the bleach bowl. About the same amount of shampoo as you would use to wash your hair. Stir to combine.
When your hair is a little more than towel-dry, start to rake in the shampoo/bleach in the remaining inches yet to be lightened and bringing the mixture well down towards the ends.
This needn't be exact, grab a clump of shampoo and pass your fingers through your hair. When you've spread the rest of the bleach mixture through the mid-length and ends, start to backcomb your fingers against the grain of your hair to blend the top border of your ombre. Pseudo-teasing your hair all the way around your head. If you have plenty of shampoo-bleach left and you want the ends even lighter than you achieved in the previous step, feel free to use any leftovers to thoroughly recoat the bottom as well.
 |
| Rake. Backcomb. Repeat. (Ignore the foil. That's something else.) (Also ignore the mess. ) |
Wrap your hair in foil or saran wrap. Set the timer for 10 minutes.
When it beeps, shampoo out and apply a deep-conditioner. Bleach is a little demanding on your hair, so you're going to want to give it some love for the next few days.
 |
| Yes, they are prescription. Yes, I love them. |
A Word of Caution: Now I know you're thinking "I'll just put in the bleach and immediately follow with the shampoo/bleach. Set one timer, rinse out once. Save some steps."
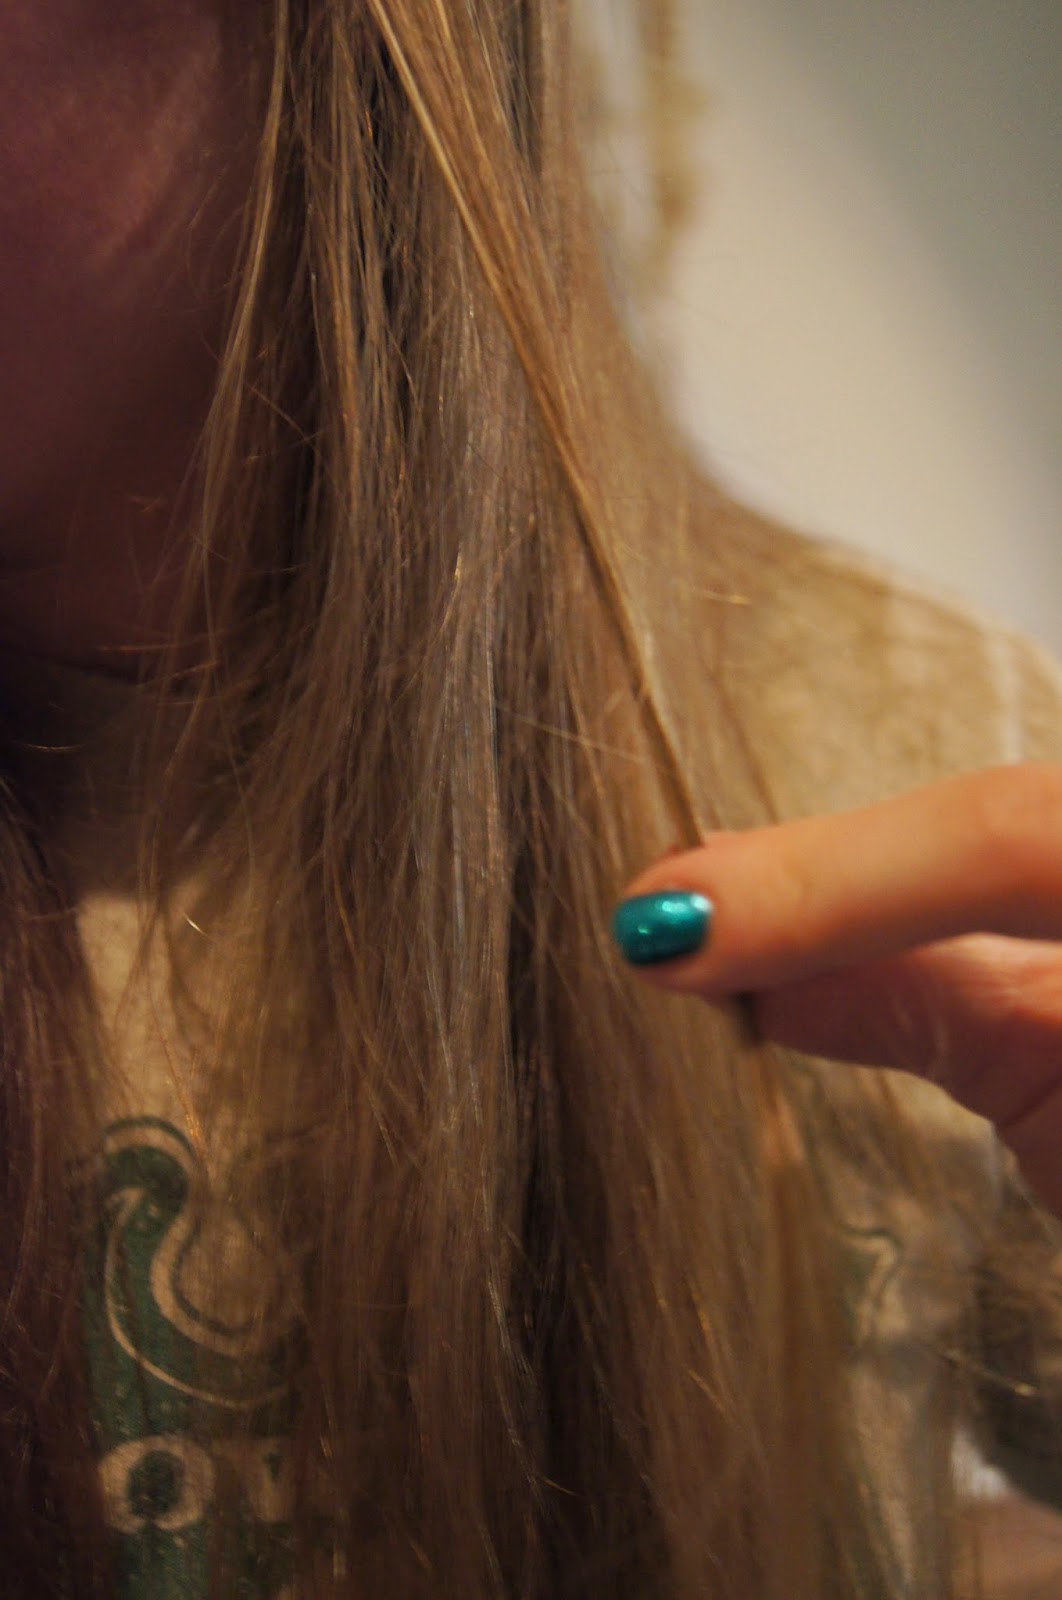
You'd think.
 |
| See that ombre? Yeah, me neither. |
 |
| The ends did actually get lighter. Just not by much |
Good luck with your Summer hair,
Stephanie


No comments:
Post a Comment